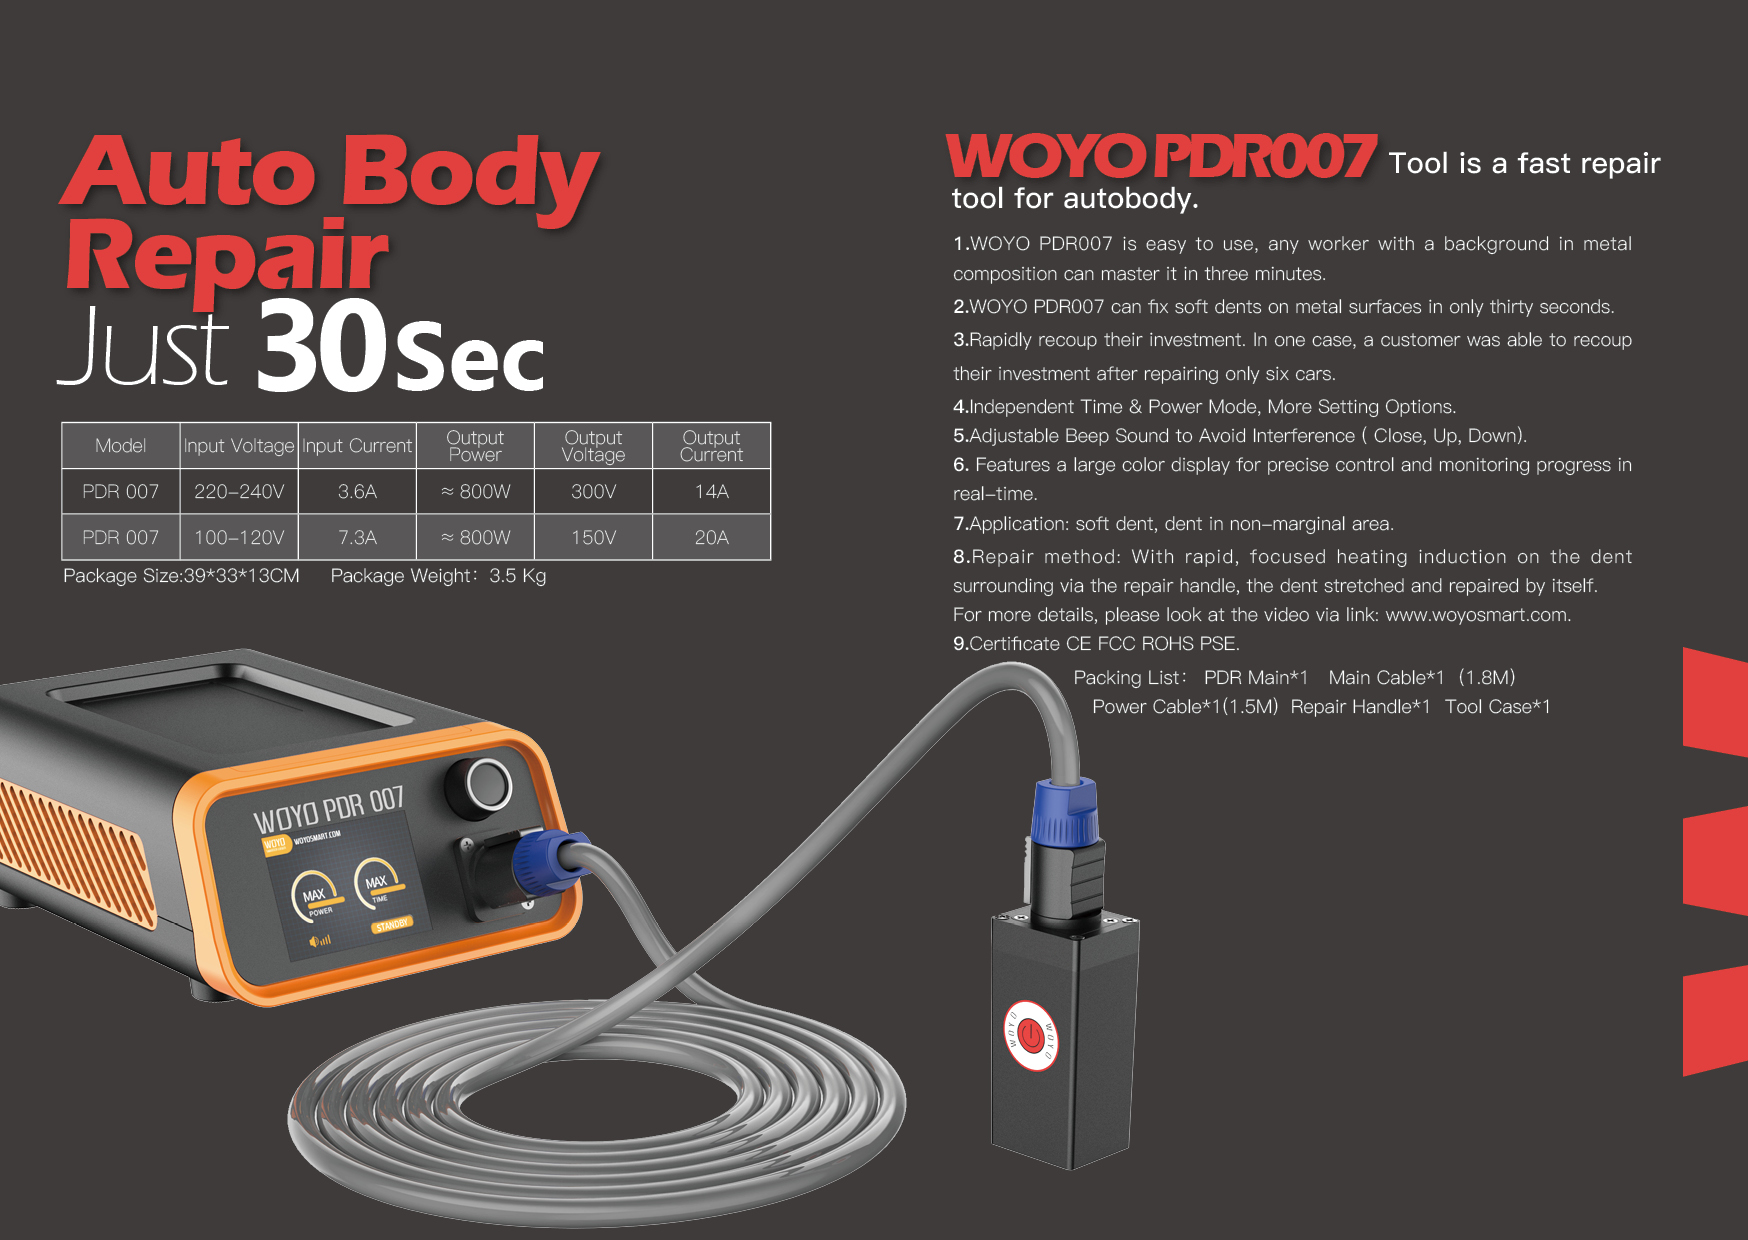
This WOYO PDR007 is designed specifically to be used with dents on flexible steel car bodies.
The diagrams below illustrate the types of dents that can be removed. Dents like the kind caused by impact from hailstones, which leave smooth, rounded dents, can be removed. (More active materials may call for different devices, like pull hooks or suction cups. Consult with training personnel for specifics)
Unsuitable range of use
Sharp dents
Body areas that have been damaged and reconstructed
Crumpled/creased areas or dents along creased metal
Aluminum bodies
Using the device
1.Connect the “220V Power Cable” to the device’s “Power Input Socket”, and plug the other end of the cable into a 220V power socket. Flip the “ON/OFF Switch” to ON, which will turn on a red light.The “Work Status Display” will also turn on. This is the normal status of the device.
2.Once it turns on, the “Work Status Display” will display the WOYO logo, and will then display a loading message for about 10 seconds. This screen will display the work status of the device. The device itself will release an intermittent “beeping” sound. This is the normal status of the device.(Note: If the device continually displays a loading message, power it down, wait 5 minutes, then power it on again. If it still displays a loading message, contact one of our distributors! )
3.The “Time/effect Dial” lets you select a run time between 0.5 seconds and 4 seconds, and the device runs at capacity regardless of the length of time selected. Press the “Work” button once to set run time.
4,The “Time/effect Dial” intensity can be set between 20% and 100%. This is the strength that the device runs at. Press the “Work” button to activate the device. Let go of it and the device will stop.
5,Connect the “Extension Cable” to the device’s Quick Connect head and the Restoration Head’s Quick Connection head, and the device is ready to use.
6,After work is complete, set the “Time/effect Dial” to “OFF”, and after 5-10 minutes, set the “ON/OFF Switch” to “OFF” as well. Give the device time to cool down, and then remove the “220V Power Cable”. Every time you use the device, repeat the steps above for a safe and effective experience.
Car body dent diagram
First, according to the size of the dent and the color of the paint, set the work time and intensity of the Paint Damage-Free Dent Restorer. Typical use would see the “Time/effect Dial” set to 0.5-1 second(s). Grip the restoration head and press the “Work” button, and begin moving around the dented area. First trace around “area 1”, moving in to “area 4” as you add heat. Wait for cool down. Then, begin at “area 2” and move towards “area 4” as you add heat. Wait for cool down.
Then, begin at “area 3” and move towards “area 4” as you add heat. Wait for cool down. Finally, continually add heat in “area 4”, then wait for cool down. The repair process should be complete.(Some areas might require repeated applications of heat or repetitions of the above processes)
During the repair process, the operator MUST take note not to work in one area for more than 1 second. It is recommended that an operator applies compressed air or a wet rag to work areas to prevent overheating. During the restoration process, great amounts of heat will be created,causing the metal of the car to soften. Do not apply downwards pressure while restoring, or the dent will just become larger. During the restoration process, the operator MUST be mindful of the surface temperature of the car. If the heat gets too high, it will ignite the paint on the car’s surface,causing greater damage. We suggest the operator first practices on the piston cap of an unused engine or an abandoned car, this way the operator will learn the functions of the device as well as the dangers associated with its use. Proper use of equipment is the responsibility of any service provider!


Leave a Reply