If you want to install the software by yourself and activate multiple computers, please purchase software with a keygen.
Top 4 reasons to get Caterpillar ET Software Caterpillar Electronic Technician:
1.Latest Caterpillar ET Software to work with CAT/CAT3 Truck Scanner
2.With one free activation, can send software online
3.Support Multi-languages:English, Chinese, Danish, French, German, Italian, Japanese, Portuguese, Russian, Spanish
4. SO: Win 10, Win 8, Win 7, Win Vista, Win XP
Cat et Caterpillar Electronic Technician Software:
Type of catalogue: Caterpillar Electronic Technician Diagnostic Software
Make: Caterpillar
Region: WorldWide all region
Operating System: Windows 7 32 bit, Wnidows 7 64 bit, Windows 8/8.1 32 bit, Windows 8/8.1 64 bit, Windows 10 32 bit, Windows 10 64 bit
Cat et Diagnostic Software PC Requirements:
Recommended Configurations:
PC containing a 2.0 GHz dual-core processor
3GB RAM
3GB of available hard disk drive
DVD-ROM drive
15.4 inch XGA Screen (128×1024 compatible)
Microsoft Windows 7 Professional or Windows 8 Professional, Windows 10 Professional (Not tested with Home Edition) (Note: Windows 8 RT is not supported)
RS232 port with 16550AF UART or compatible (for use with Comm Adapter II)
USB 1.1 or 2.0 port (for use with Comm Adapter 3)
Ethernet RJ45 connector
Built in pointing device or mouse
For security purposes, Microsoft Internet Explorer version 9 or newer is recommended.
Caterpillar ET Software Function:
This diagnostic app allows you to:
View active and logged diagnostics.
View events where irregularities occurred and were logged by the ECM.
View the status of a group of parameters (temperatures, pressures, etc.) simultaneously.
Record and log performance data.
Graph a group of status parameters.
View the current configuration of an ECM.
Change ECM configurations.
Perform diagnostic tests.
Perform calibrations.
Print reports and diagnostic results.
Please keep in mind that some ecm settings for example, speed limit requires factory password. The factory password generator is not included in this application
PC, Communication Hardware, and Cable Requirements
To run the Heavy Duty Truck diagnostic Scanner, the next PC, communication hardware, and cable requirements must be met. NOTE: The minimum PC Configurations should not be used as a standard when buying new personal computers for service tool purposes. If the existing equipment meets these minimum requirements, it will run the service tool.
PC Requirements
Recommended Configurations
PC containing a 2.0 GHz dual-core processor
3GB RAM
3GB of the available hard disk drive
DVD-ROM drive (optionally)
15.4-inch XGA Screen (1280×1024 compatible)
Microsoft Windows 7 Professional or Windows 8 Professional, Windows 10 Professional (Not tested with Home Edition) (Note: Windows 8 RT is not supported)
RS232 port with 16550AF UART or compatible (for use with Comm Adapter II)
USB 1.1 or 2.0 port (for use with Comm Adapter 3)
Ethernet RJ45 connector
Built-in pointing device or mouse
For security purposes, Microsoft Internet Explorer version 11 or newer or Microsoft Edge is recommended.
Note: The most recent version of Microsoft Internet Explorer may not be validated to work with the service tool.
Wi-Fi (for the Wireless Comm Adapter 3)
Minimum Configurations
PC containing a Pentium 2 GHz processor or greater
1GB RAM
500MB of an available hard disk drive
CD-ROM drive
Super VGA monitor or display (1024×768)
Microsoft Windows 7 Professional or Windows 8 Professional, Windows 10 Professional (Not tested with Home Edition) (Note: Windows 8 RT is not supported)
RS232 port with 16550AF UART or compatible (for use with Comm Adapter II)
USB 1.1 or 2.0 port (for use with Comm Adapter 3)
Ethernet RJ45 connector
Built-in pointing device or mouse
For security purposes, Microsoft Internet Explorer version 9 or newer is recommended. Note: The most recent version of Microsoft Internet Explorer may not be validated to work with the service tool.
Communication Hardware
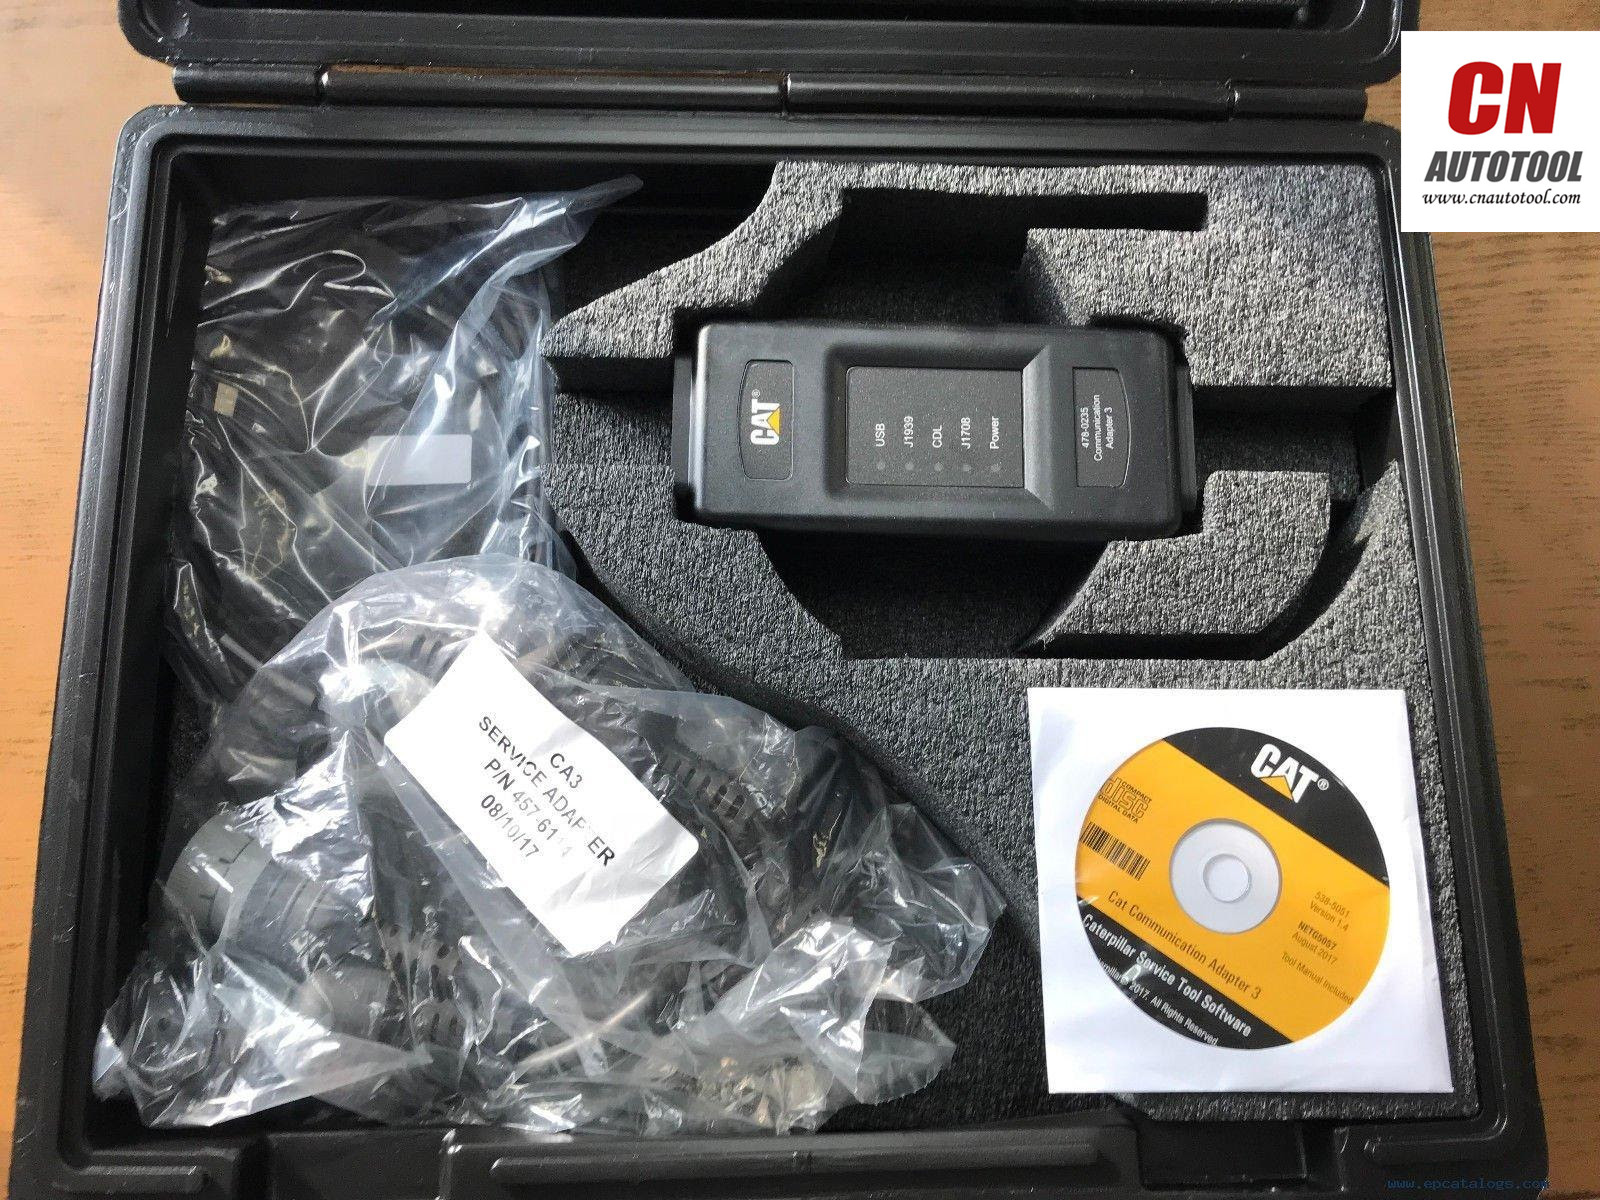
Caterpillar Communication Adapter III
Configuring Cat Electronic Technician to use the Communication Adapter 3
For Cat Electronic Technician to work with the Communication Adapter 3, the settings must be changed to select the Communication Adapter 3 as the Communication Interface Device:
Step 1 Start Cat Electronic Technician.
Step 2 Click the Stop Connect button when it appears.
Step 3 Select the Utilities menu.
Step 4 Choose “Preferences > Modify…”.
Step 5 Select the Communications tab.
Step 6 Select Cat Comm Adapter 3 (RP1210) and click OK.
NOTE: Because a growing number of products require multiple data link service, the “Enable Dual Datalink Service” checkbox has been pre-selected.
Leave a Reply